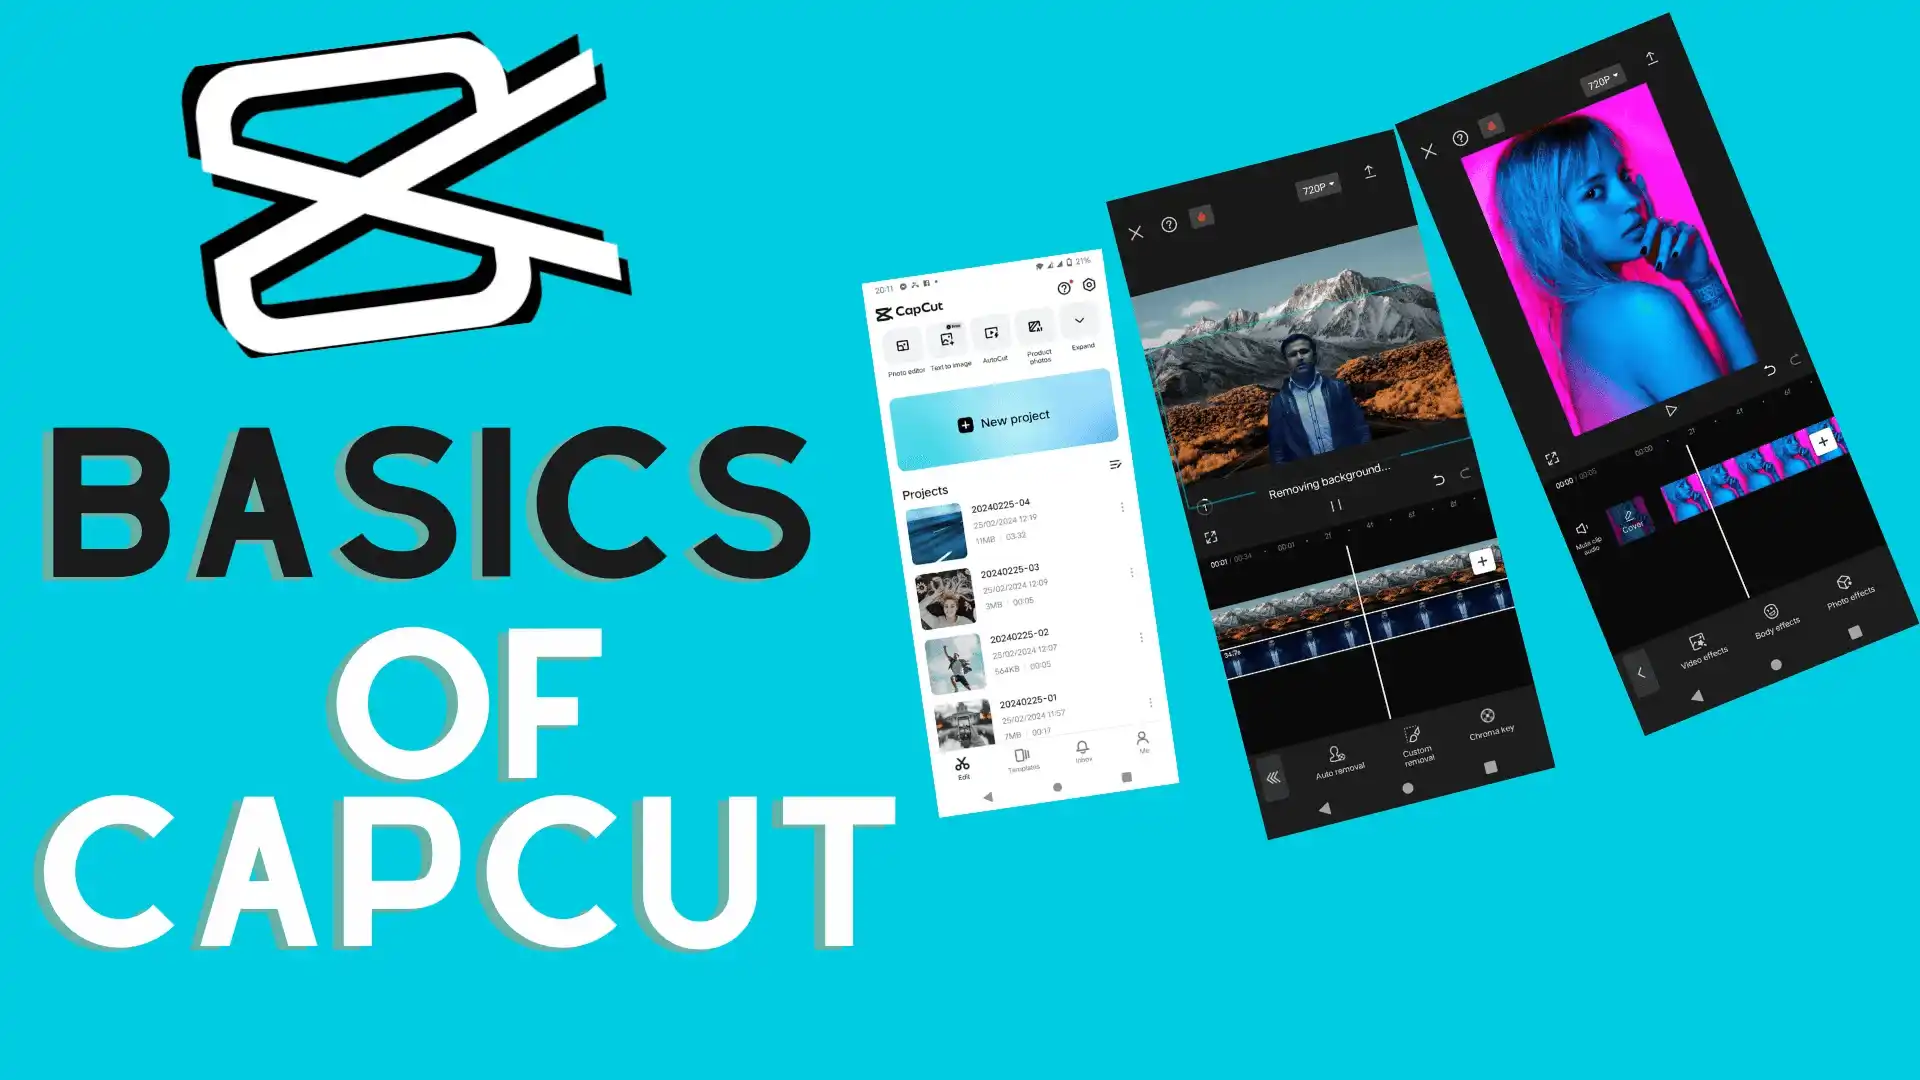
Basics of CapCut for Beginners 2024
Suppose you want to become a video editor and understand the basics of CapCut involved in video editing. Especially if you want to learn the basics of the most popular video editing app, Capcut, after reading this article, you will become a CapCut Editor.
In this article, we will explore all the commonly used features of CapCut. And how we can make our content special and eye-catching with all these CapCut features. Moreover, we look at options and how to use them.
What are the Basics of CapCut
CapCut is easy to understand and use just after understanding the basics of CapCut. Every video in CapCut requires gathering media files, and all options of texts, effects, filters, Animations, and effects are just away from a single click. Learning the Basics of CapCut is an entry into the world of creativity.
Importing Content
The first basic requirement of video editing is importing content in CapCut, which you must edit. You may also add additional content as per requirements during editing. Still, it is best practice to import all content at once in CapCut, so you must remain focused on editing while saving time.
Step 1: Open CapCut.
Step 2: Click on the new project and select the videos and images you want to edit from your gallery
Step 3: All selected videos and images will be imported into CapCut and ready for editing.

Ratio Setting
Video ratio setting is basic of CapCut and one of the most important parts of video editing, and you need to set the ratio of the video as per your requirements. For example, there is a different ratio if you make a video for TikTok or YouTube. There are multiple ratio options, but for TikTok and shorts, the ratio is 9:16. For other full-length videos on YouTube or any other purpose, it is 16:9. So selecting the right ratio is quite important.
Step 1: Click on a Aspect ratio
Step 2: Select the ratio in which you want to edit.
Step 3: You can adjust your videos per the selected ratio; you need to tab on that video and scale it according to your requirements.

Trim and Split Video
While editing the content, there are some parts of the videos that we want to remove. Trim and Split are options in CapCut. Normally, the trim function removes any start or ending part of the video, while Split is used for video cutting from any portion of the video.
Step 1: You must click on the clip you want to trim.
Step 2: You can scroll the video right to trim from the start or scroll left to trim from the end of the video.
Step 3: Select the option of splitting by clicking on the video. It will split that part of the video.
Step 4: click on the unwanted split area and press delete to remove it from the video.

Stickers Adding
In videos, the most interesting part that editors normally use to grab viewers’ attention is adding stickers as per the situation or adding some funny crisp. CapCut has a warranty of stickers that give new value to your videos.
Step 1: Click on the “Sticker” option.
Step 2: Select your favorite sticker.
Step 3: A sticker will appear on your video screen. Click on the sticker to resize it and move it to your desired position.

Text Adding
Nowadays, almost all videos have text additions to make the content more understandable and keep the audience engaged, whether in entertainment or commercial marketing. CapCut makes this feature more advanced with multiple text color options. Let’s quickly look at how to apply the multiple-color text option in our videos.
Step 1: Click on the text option
Step 2: Select the “Add Text” option.
Step 3: Enter the text of your choice.
Step 4: If you need any text with an optional color, select that text and choose the style option, and you can change that particular selected text to your desired color. Also, we can select the text’s length and how long it remains visible on the screen.

Auto Captions
The most creative part of CapCut that every editor loves is the Auto-Caption option, by which every single word you speak in your video will appear automatically. And it’s very simple and easy to apply in CapCut.
Step 1: Click on the text option
Step 2: Select auto caption option
Step 3: You can also use Pre-Set Animation by downloading CapCut APK
Step 4: Click on Start.
Step 5: If you want more changes in text appearance, click batch edit, and you can change the appearance per your requirements.

Video Background Change
Many people know about picture background removal, but CapCut has a great feature for video background removal. Are you still thinking of green screens? Using green screens is now an old hat. CapCut is a game of a few clicks.
Step 1: Import the Background you want to use.
Step 2: Click Overlay and add your original video by selecting “Add Overlay.“.
Step 3: Click on Cutout and select Remove Background
Step 4: Magic is done, and now your video background has been removed and changed into the Background you want

Video Stabilization
Sometimes, our videos could be more stable and have a shake in them, which has a bad impact on our videos. There is no need to worry when CapCut is here. You can easily stabilize your video by using CapCut in a very simple and easy way.
Step 1: Click on the video having a shake
Step 2: Select the option of stabilization.
Step 3: Set the video stable option, and you’re done.

Reduce Noise
In your video, especially in outdoor videos, there are many unwanted noises added, and you want to remove them from your video. There is a very simple and easy method for noise reduction.
Step 1: Select the video from which you want to remove noise.
Step 2: Open the “Reduce Noise” option.
Step 3: Turn on the Reduce Noise option, and that’s magic done.

Effects
CapCut remains famous for its unique effects, like putting the icing on the cake. By using these effects, you can easily make your video trending. Usually, these effects are most effective for short videos but can also bring a new look to long videos. Moreover, multiple effects categories include video, body, and photo effects.
Step 1: Select the video to which you want to apply the effect.
Step 2: Open the effects option by clicking on it.
Step 3: Apply any effect from the video, body, or photo effect options.
Step 4: The selected effect can be adjusted by clicking on it again, and multiple options appear for further adjustment

Chroma Key or Green Screen.
The chroma key is crucial in video editing and is required for all beginner or advanced levels. CapCut has a very simple and easy interface to apply the chroma key.
Step 1: Import the video or image you need for your content.
Step 2: Click “Overlay,” select “Add Overlay,” and import Green Screen Video.
Step 3: Select the green screen video, click on “Cutout, and select the chroma key.
Step 4: Click on the green screen area, increase the intensity, and click on Tick Mark.
Step 5: Green screen removal is done.

Templates
CapCut has multiple template options, in which we need to select templates and import our videos or images into that template. CapCut will create really attractive content for us.
To explore multiple templates and how to use them, click here and give a new look to your content.
Video Export
The last step that is very necessary is to save or export the video after editing. CapCut has very easy and multiple optional video export options, like video quality choice, and videos can also be directly exported to social media platforms.
Step 1: After completing video editing, click on the upper right corner and select video resolution.
Step 2: Adjust video quality up to 4K. It is possible in Capcut to adjust video as per the required resolution, either 480p, 720p, 1080p, or 4K.
Step 3: After that, click on the arrow above in the upper right corner, and video export will start and be saved in our phone gallery.
